New User Demo
Anyone who uses your business account will need to be added as a user. Once they’re set up in your account, you can assign that user a role which controls what they have access to and approval limits.
Step 1:
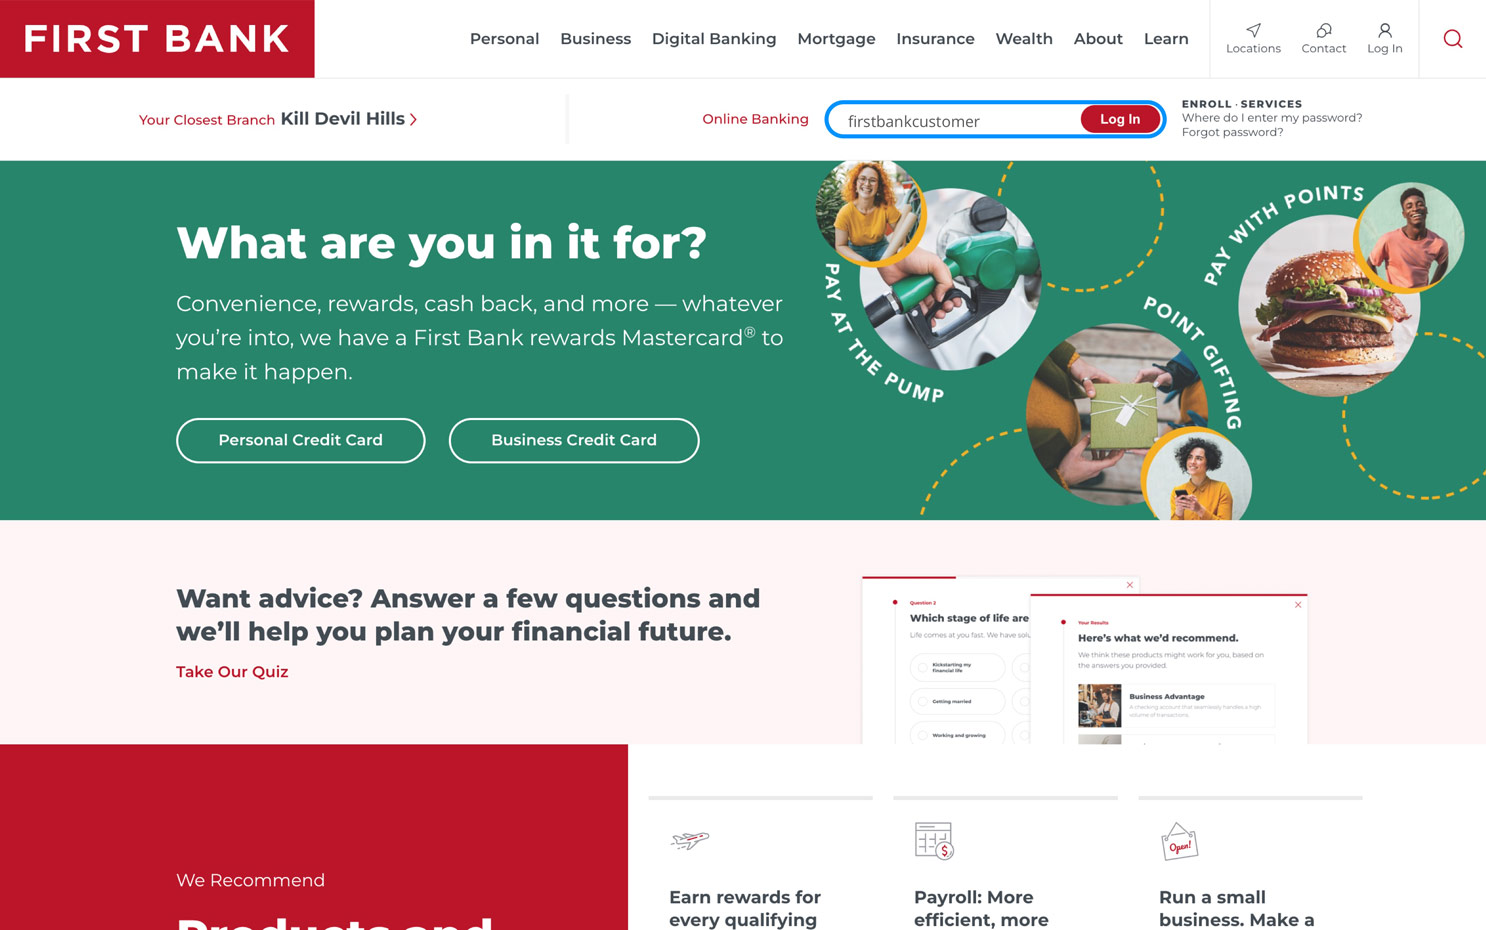
Log in to online banking.
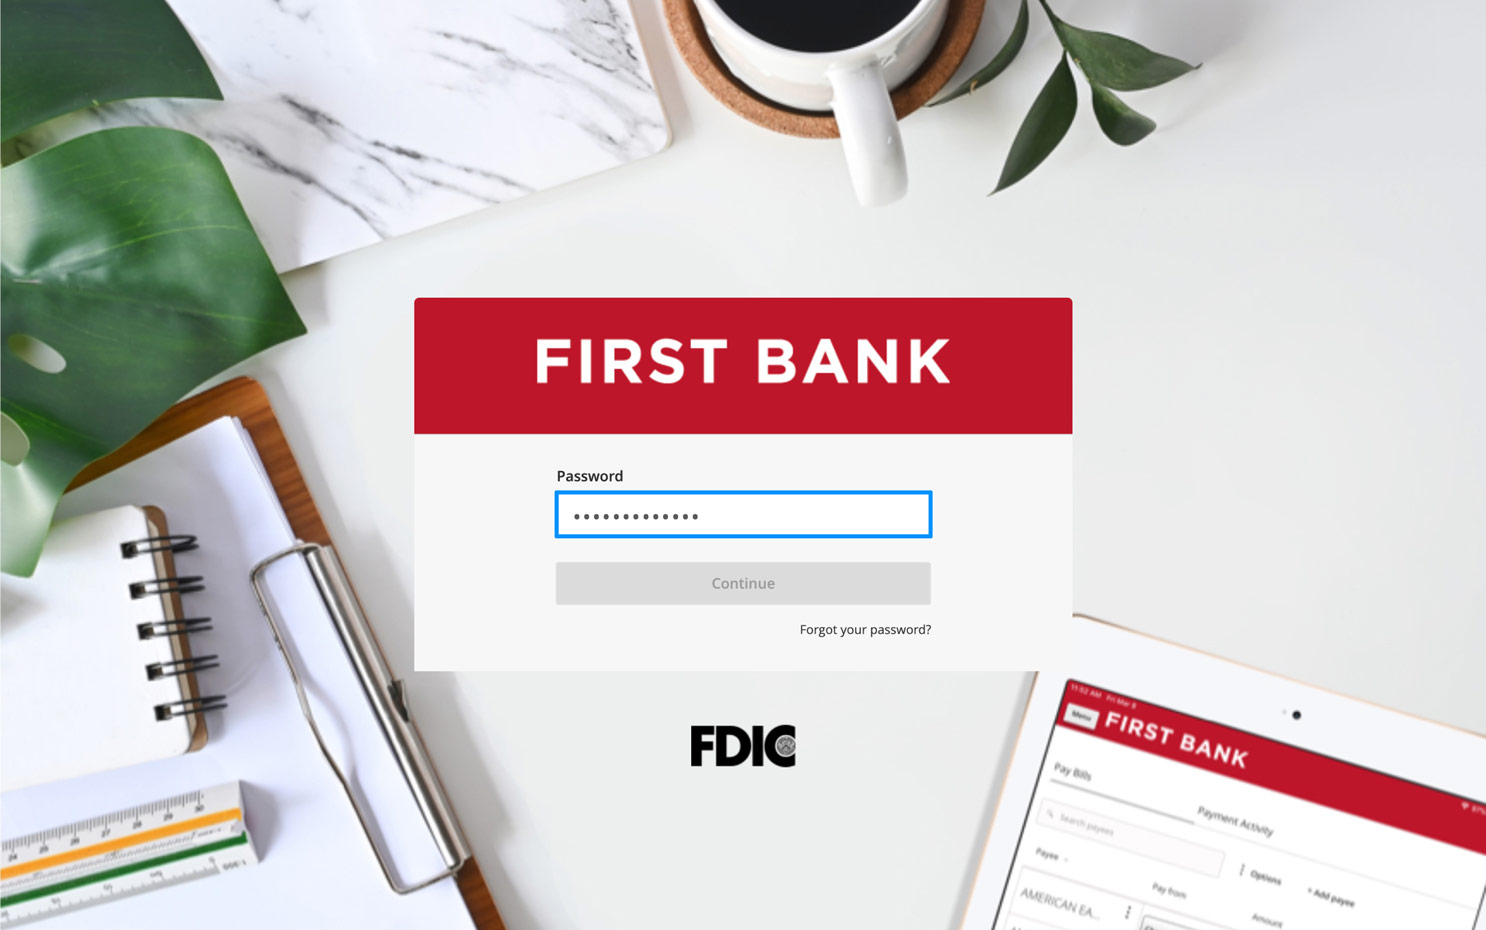
When you enrolled in First Bank digital banking, you created a Login ID and Password. Enter that information in the corresponding screens and then click the “Log In” button. Next, you will be asked to enter your password, then click “Continue.”
Step 2:
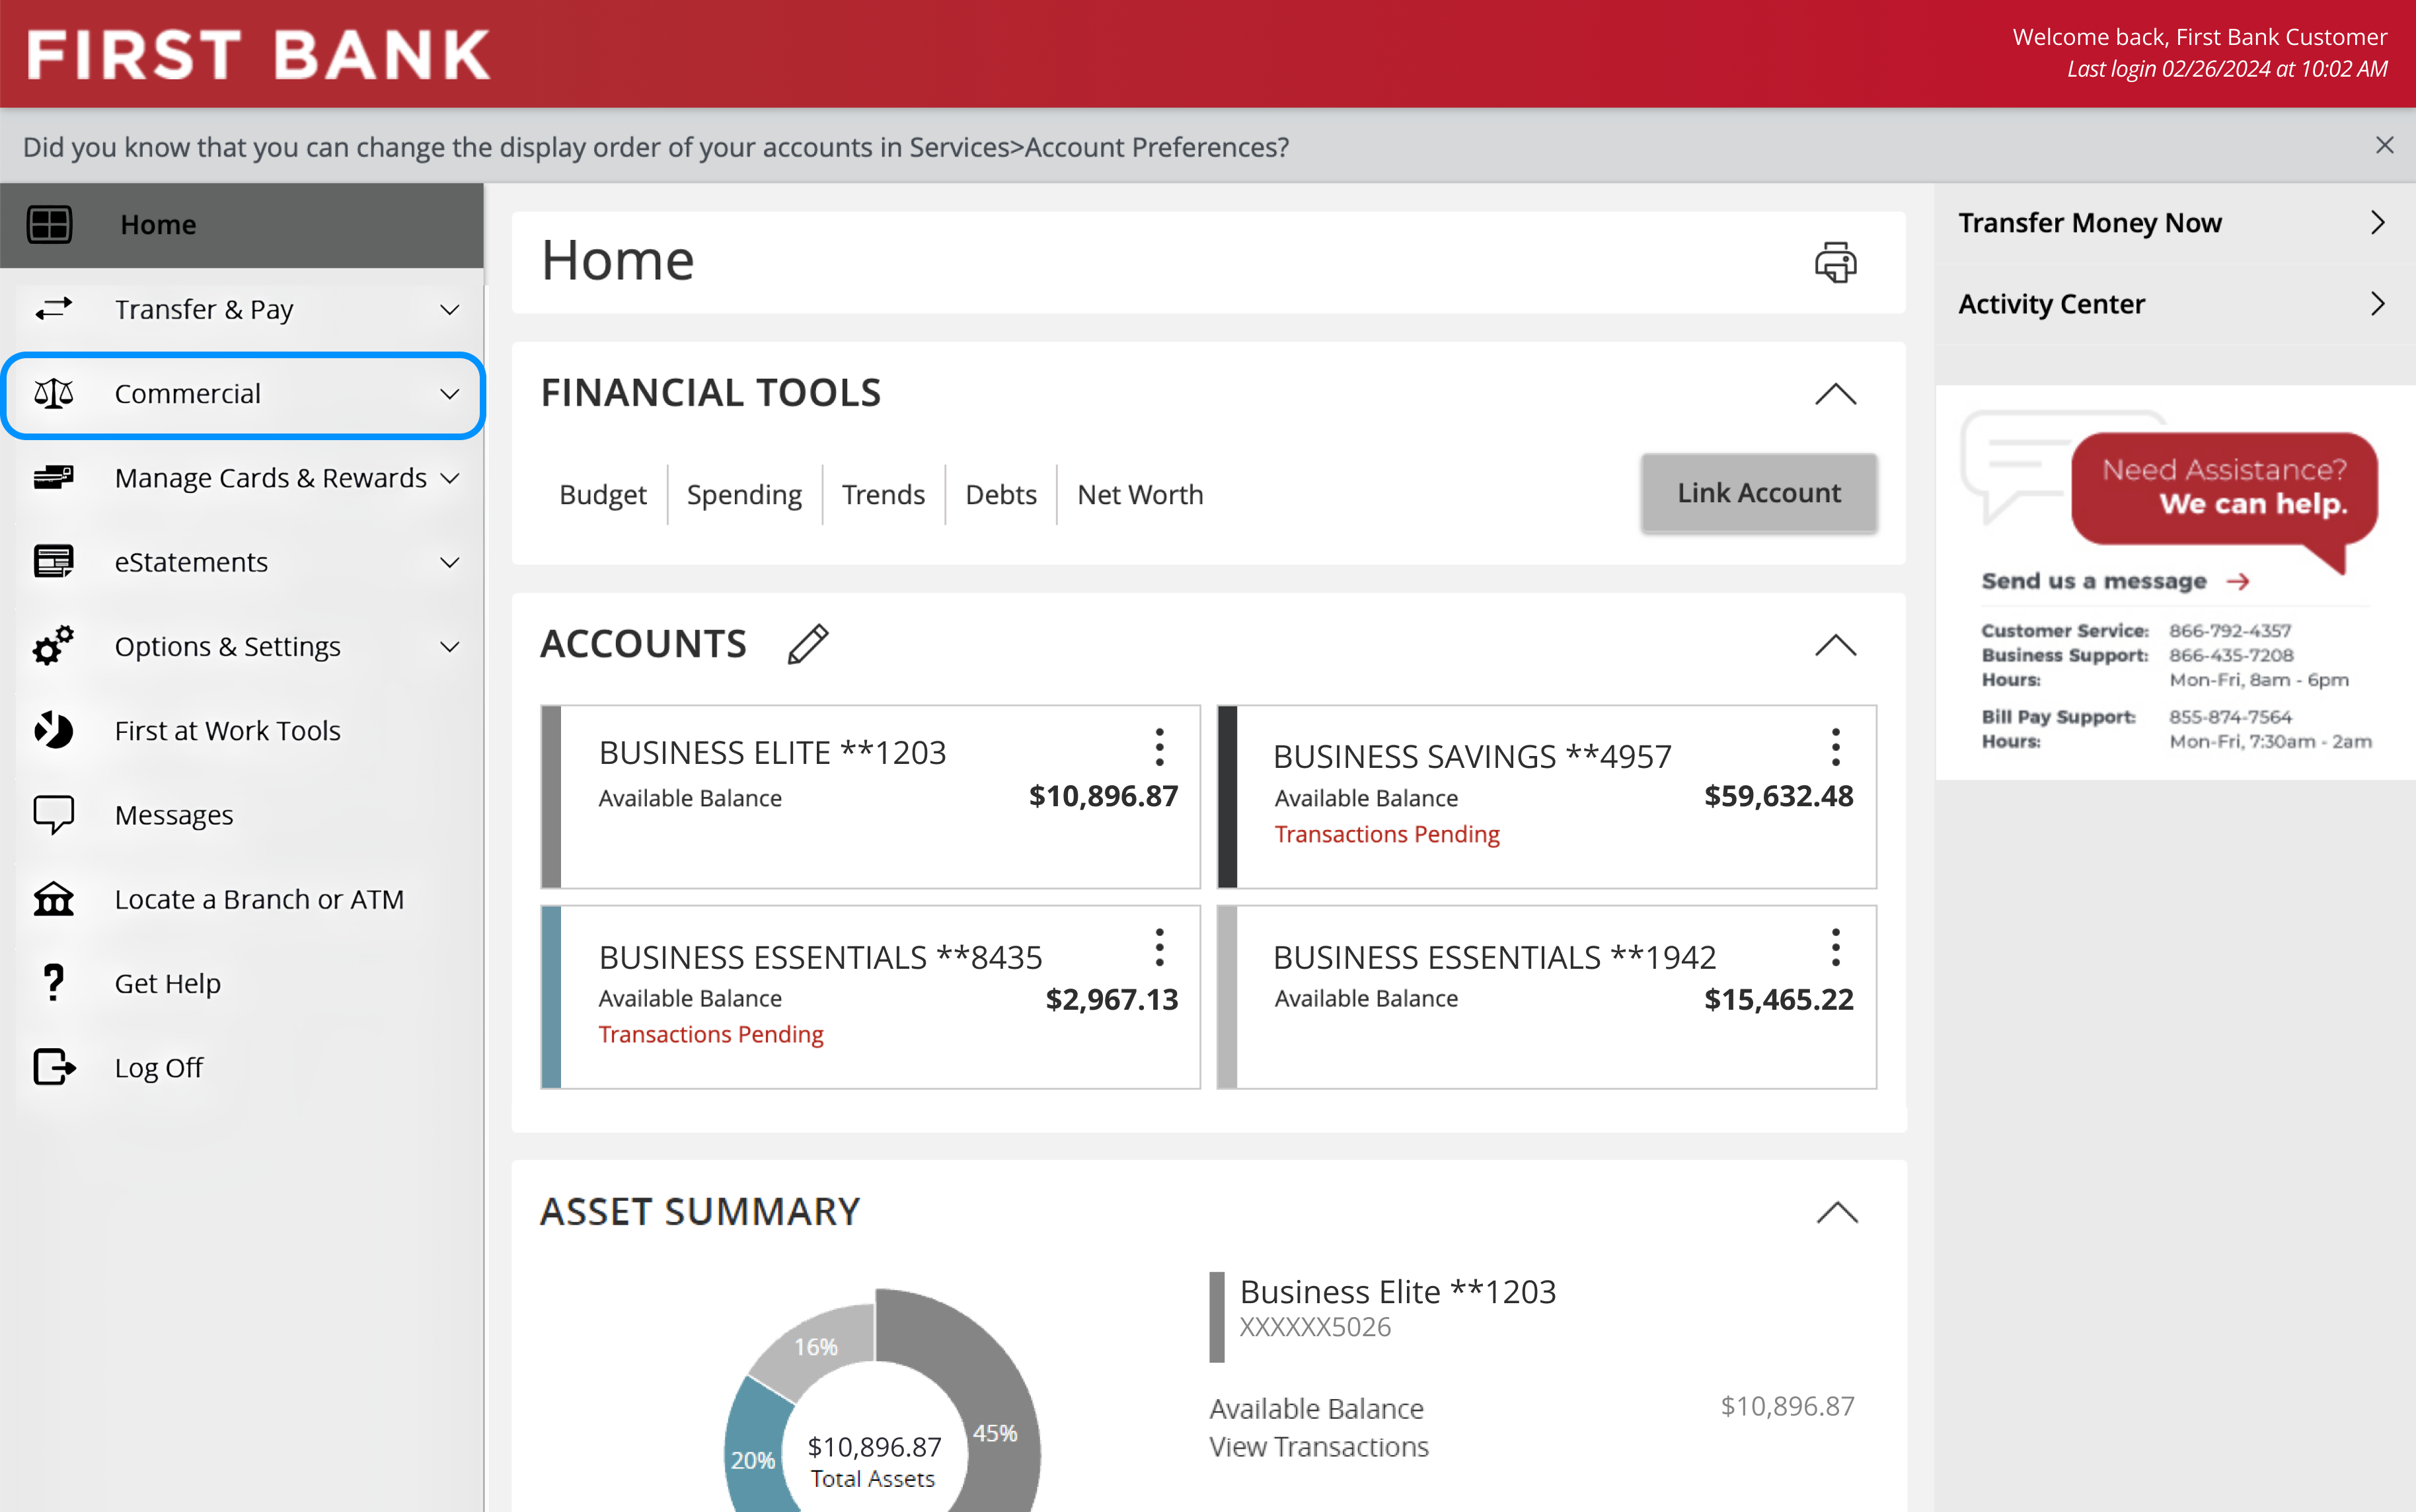
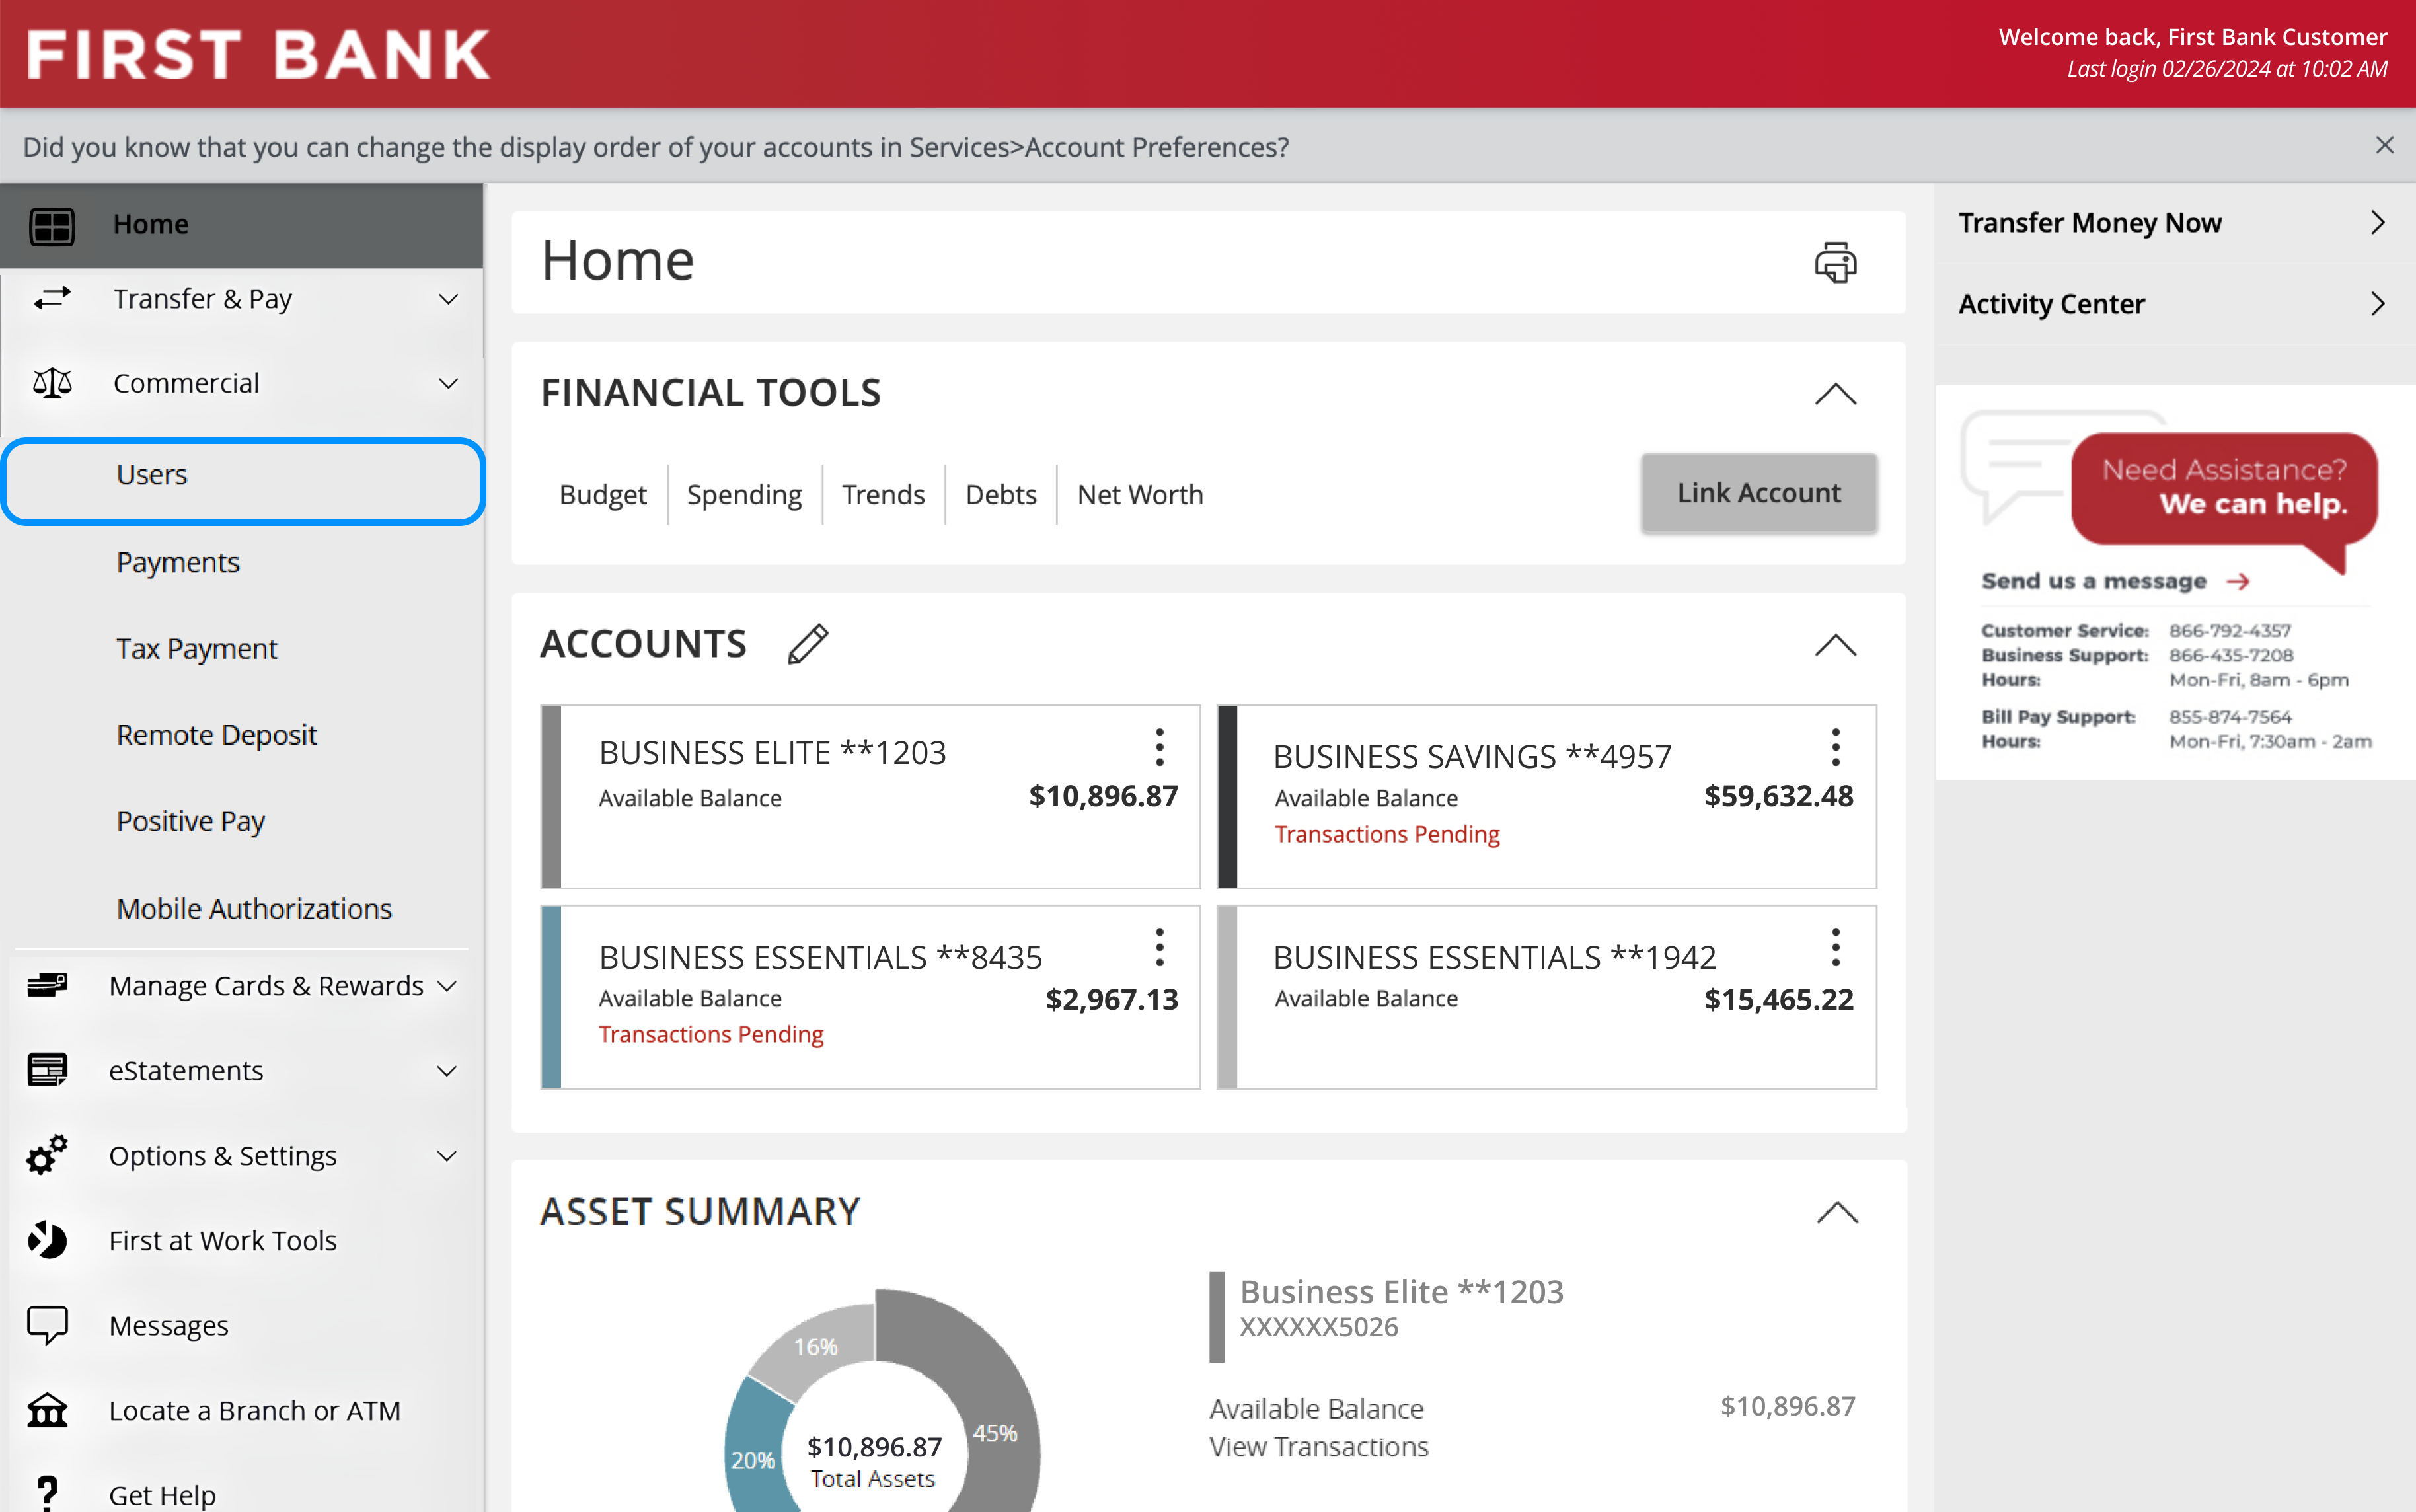
Navigate to Users.
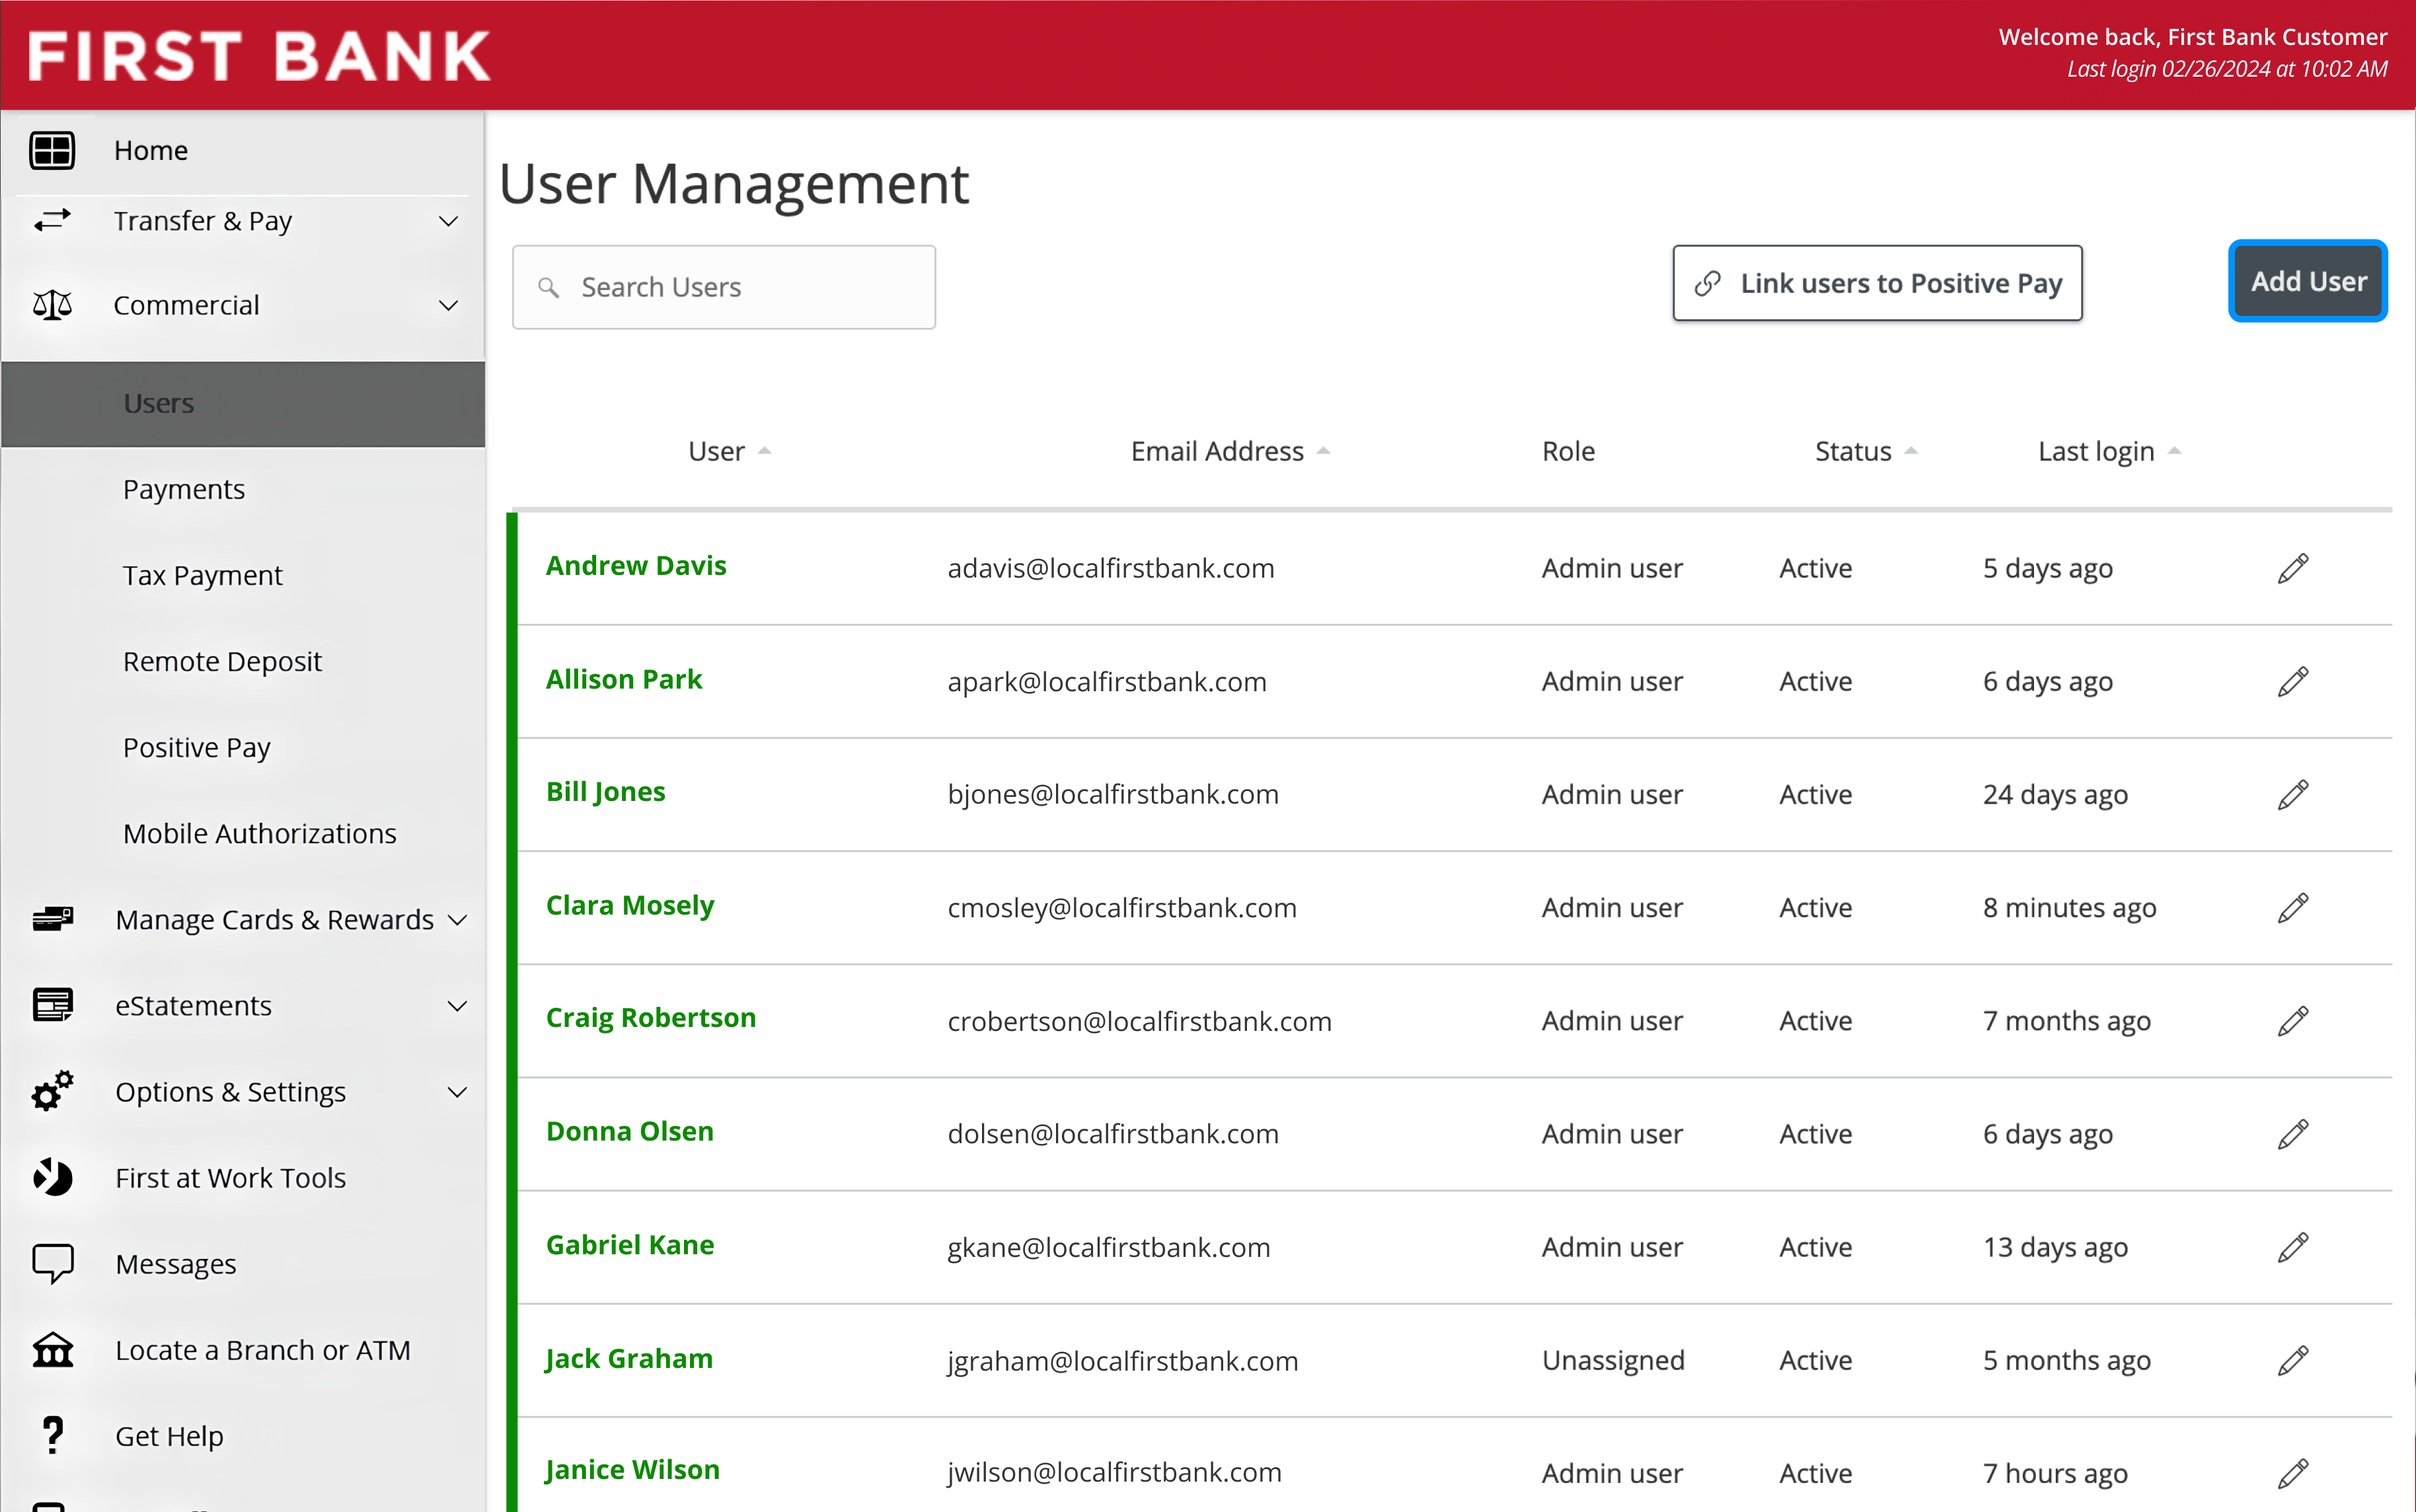
From the menu on the left, click “Commercial” to see the dropdown and choose “Users.”
Step 3:
Add new user.
Click on “Add User” in the top right corner.
Step 4:
Enter new user details.
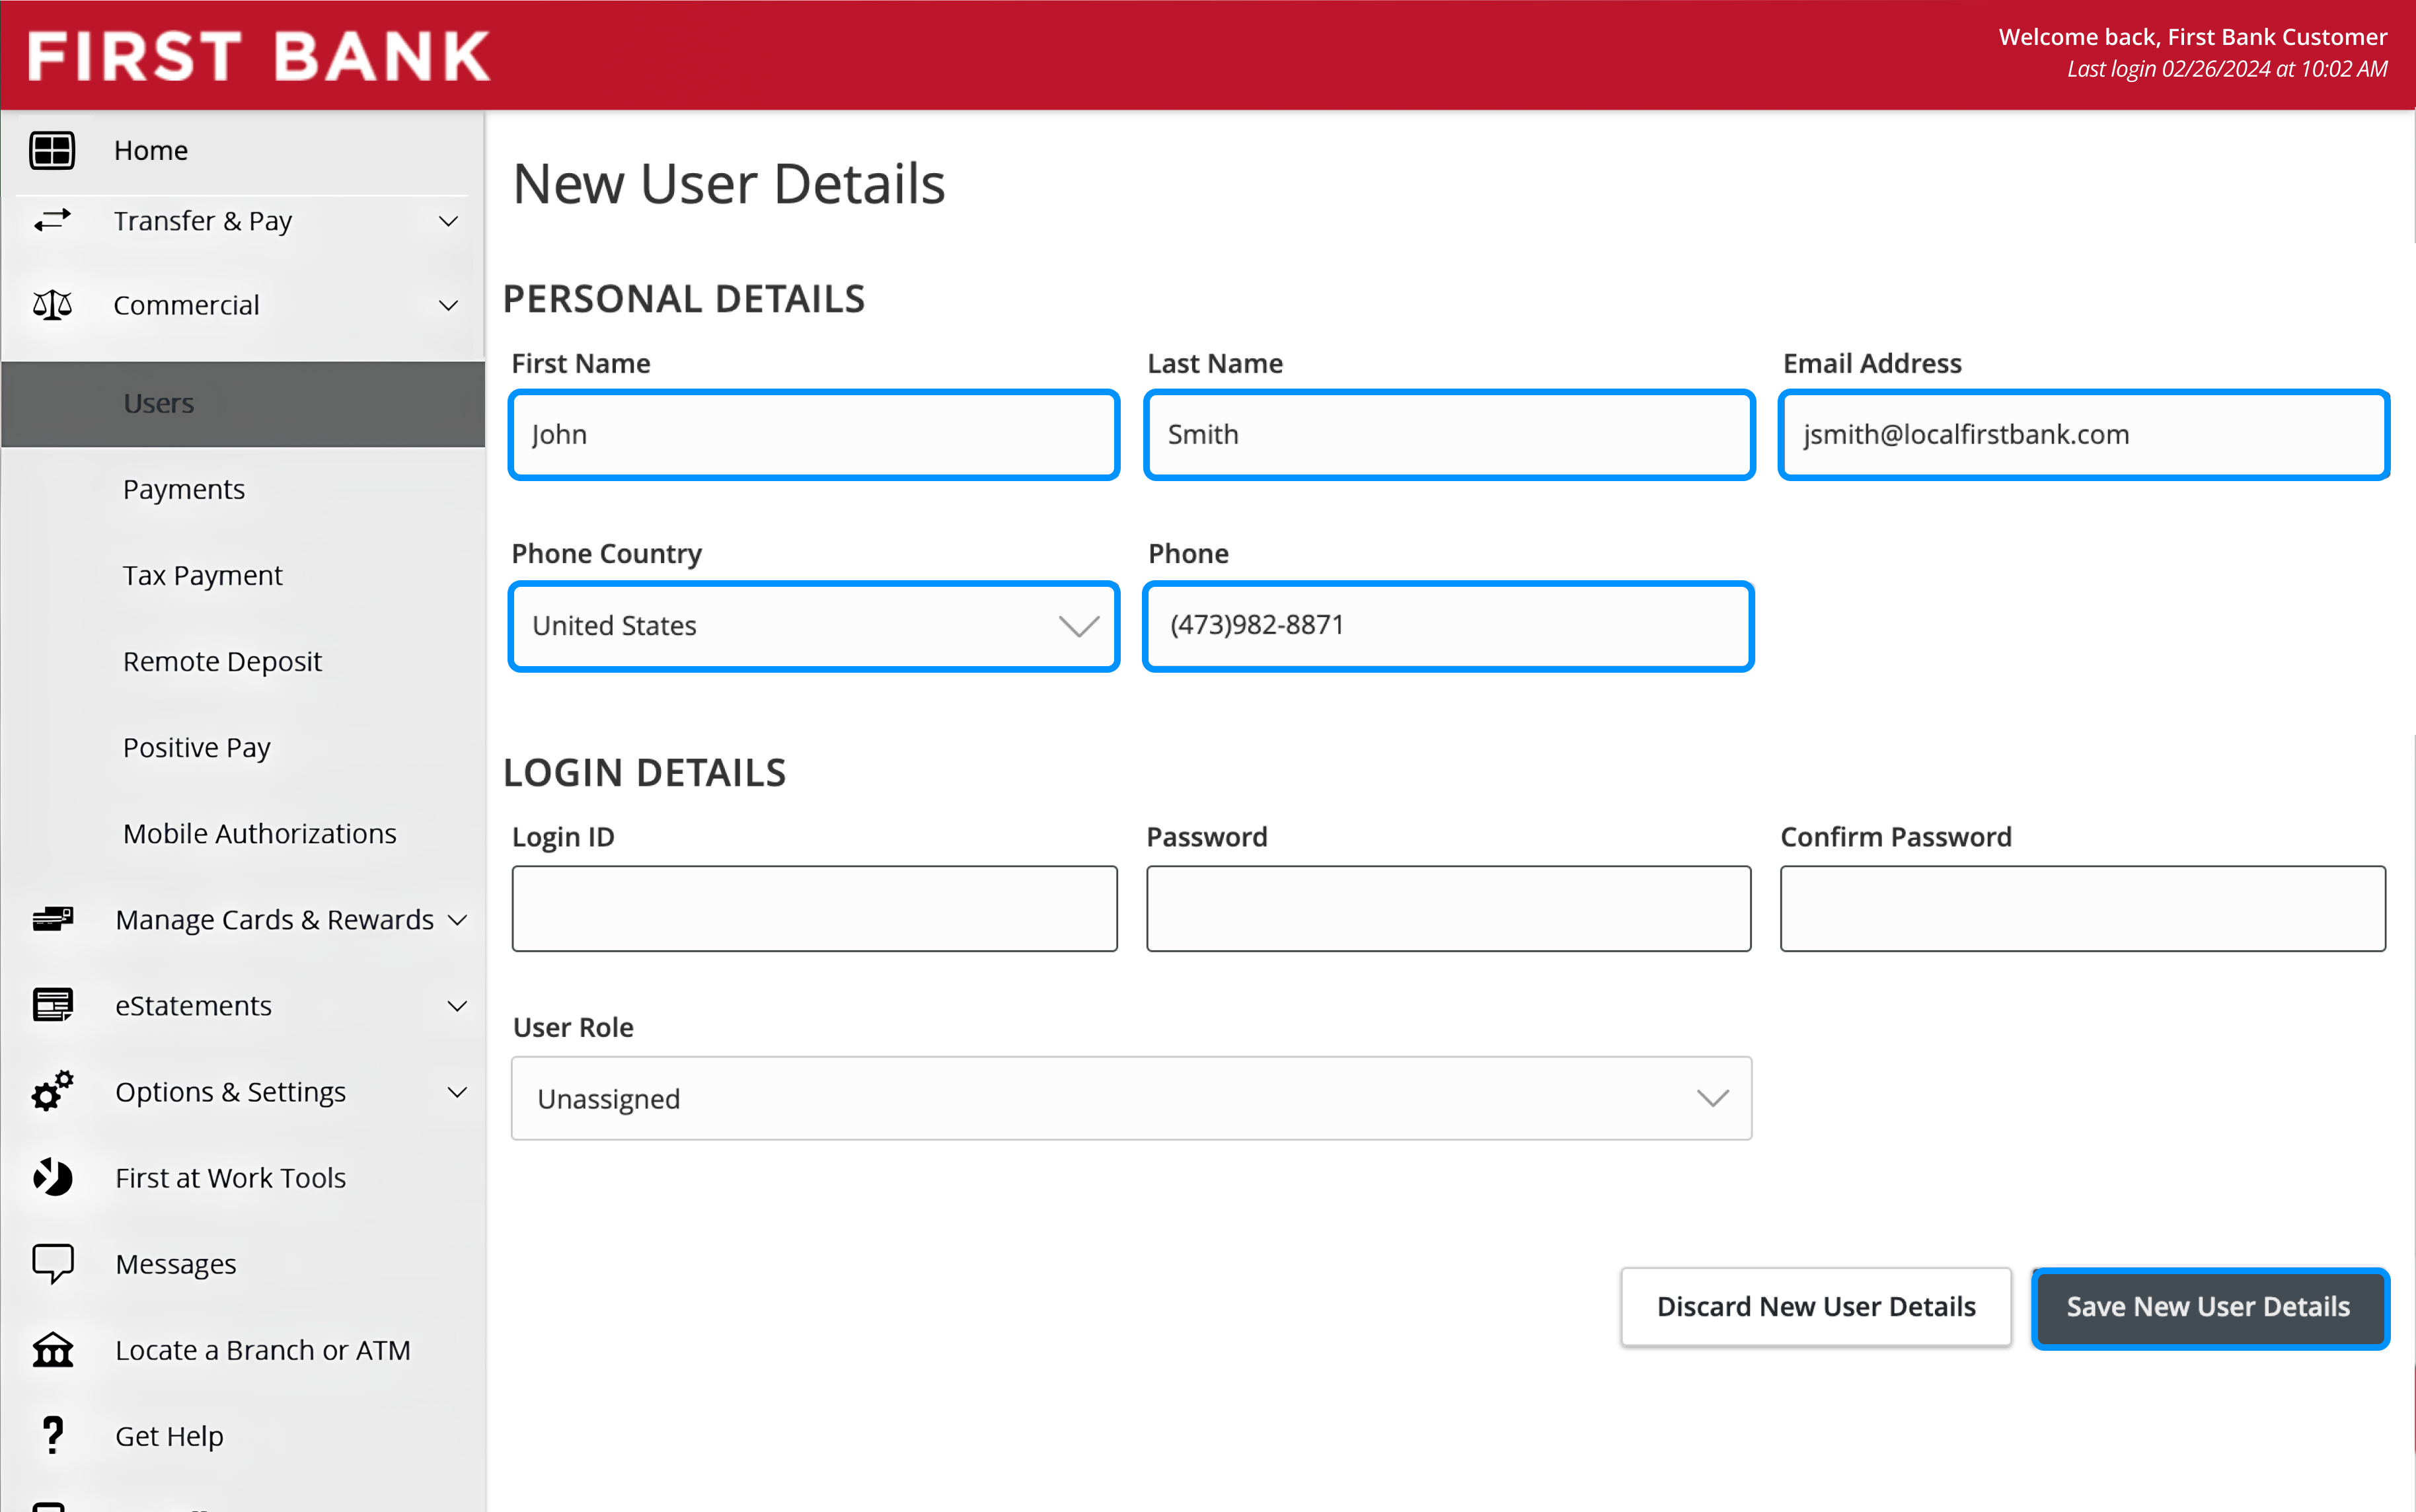
Type in the personal details for the new user.
Fill in the required details for the new user.
Select ‘Save New User Details’
Step 5:
Assign Rights
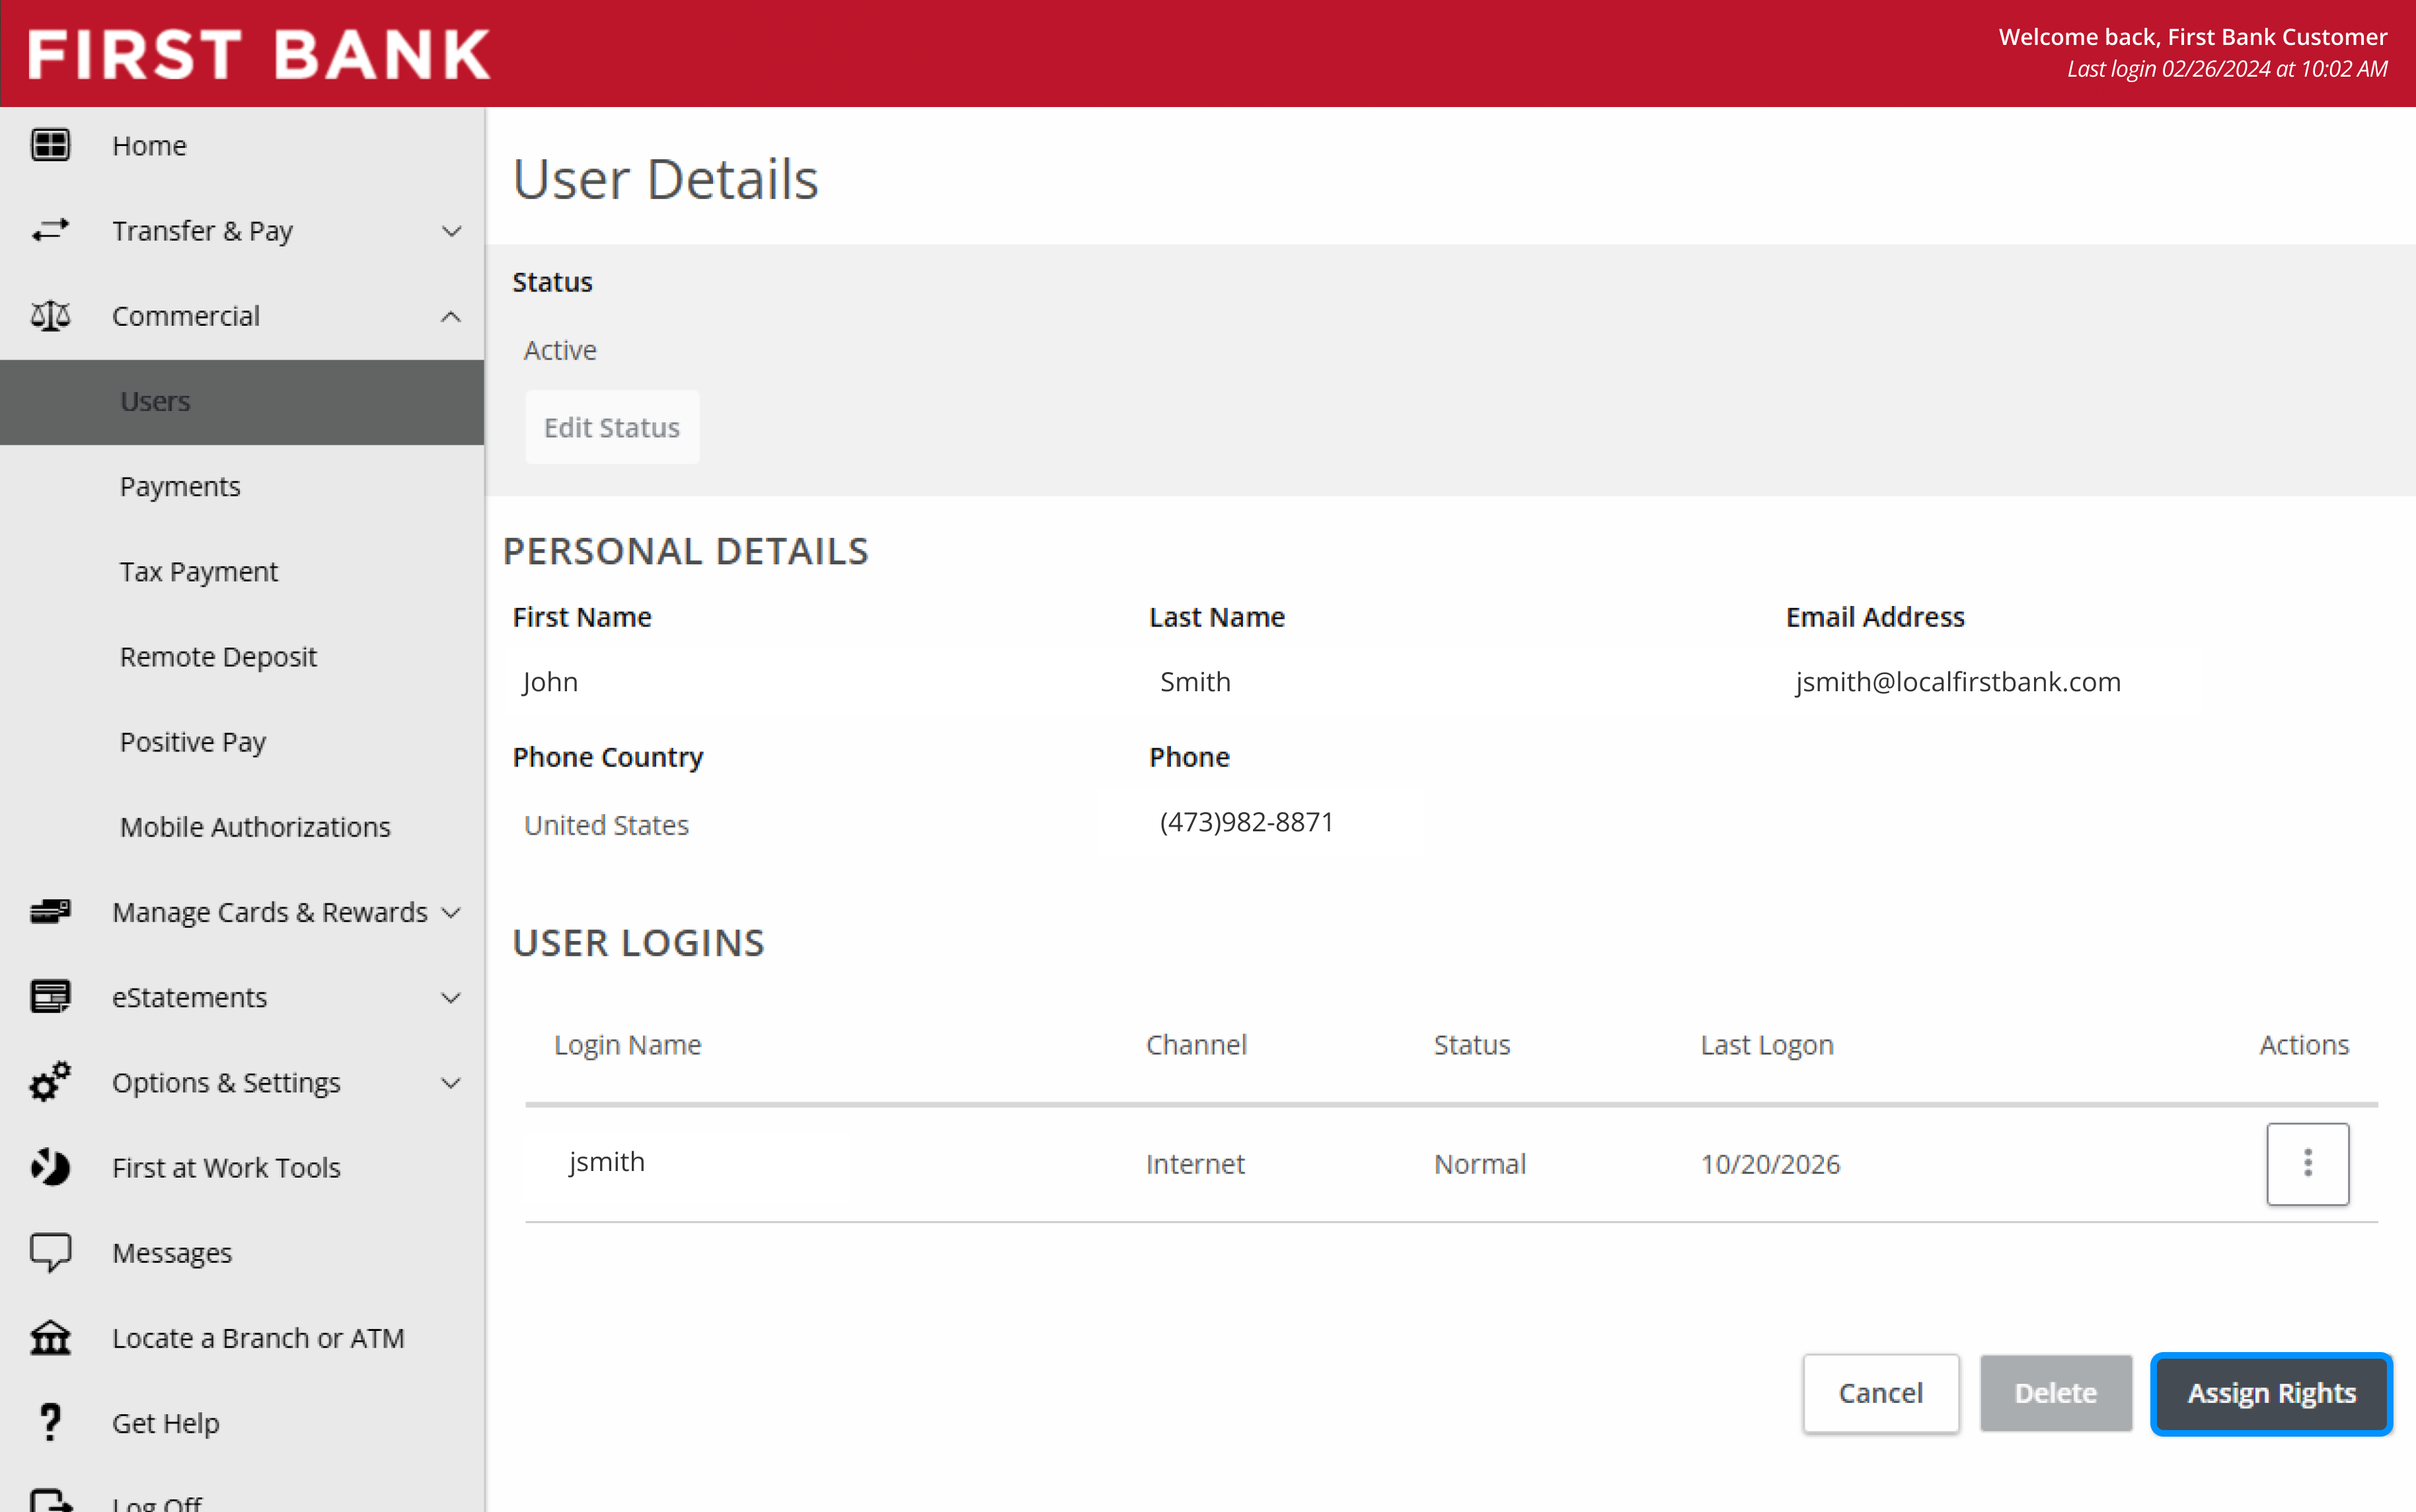
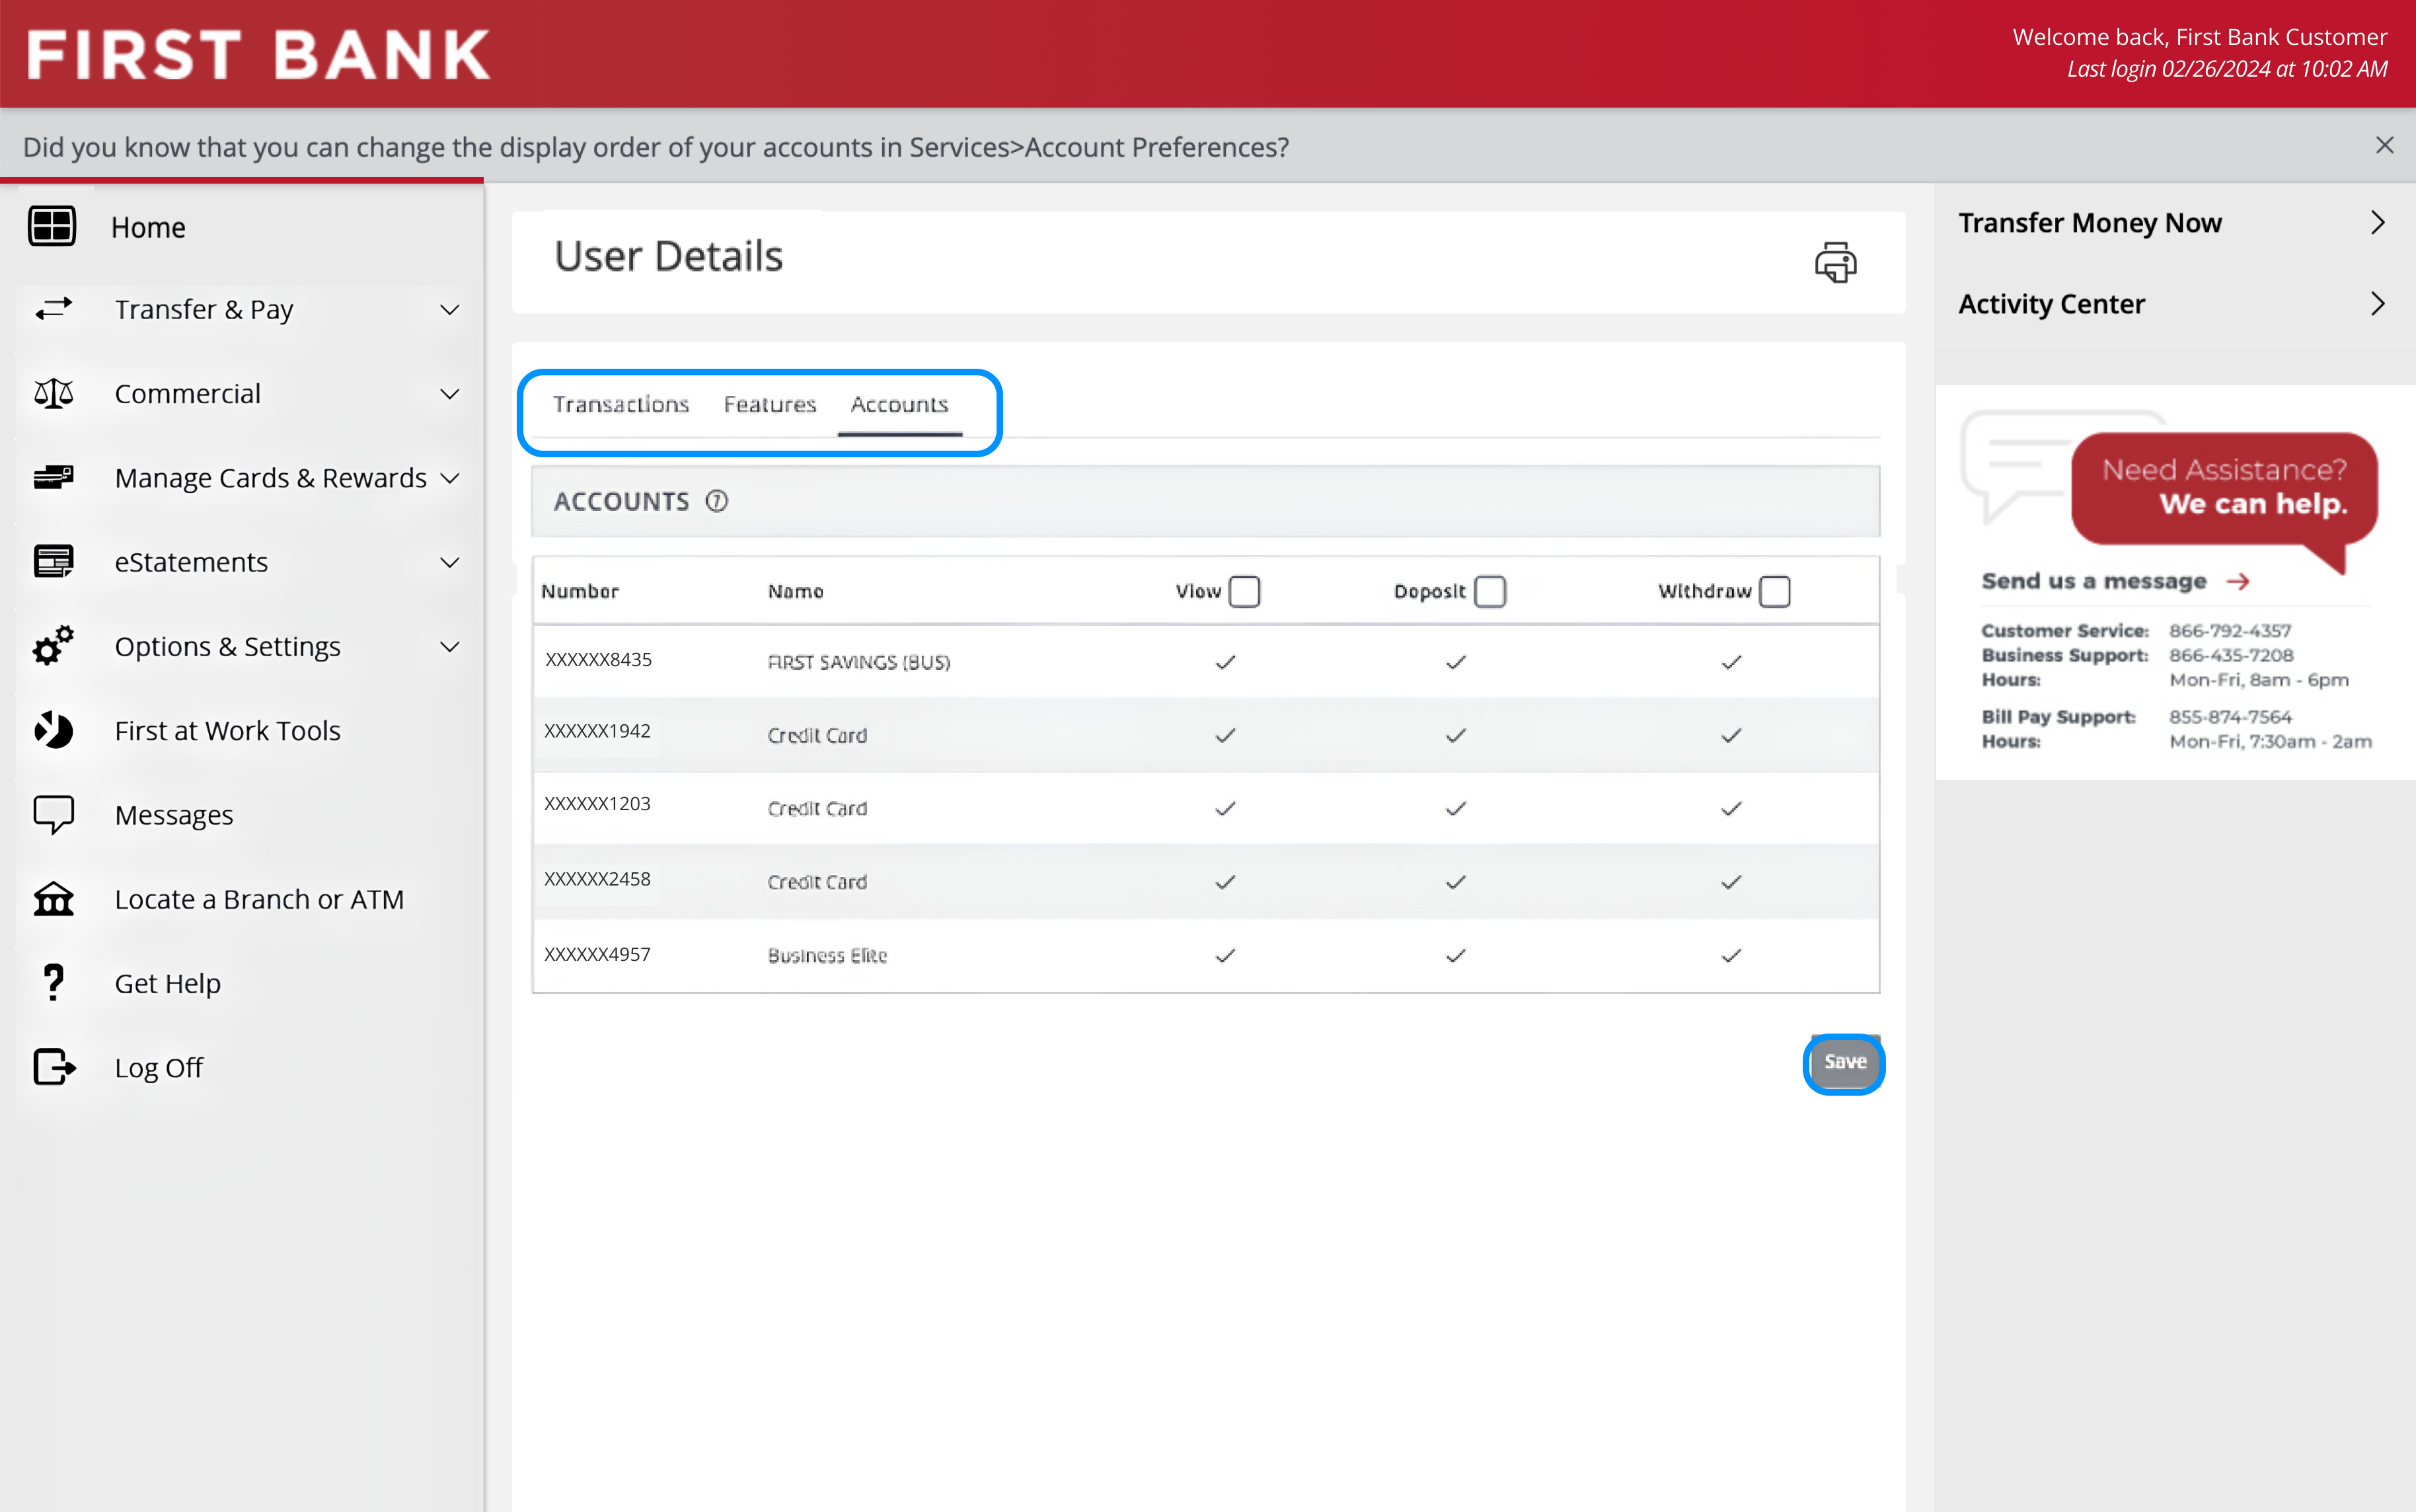
Click ‘Assign Rights’ to Assign Transaction Approval Limits, Features and Accounts the user should be able to access.
Don’t see the ‘Assign Rights’ option? Then click the User Role from the drop-down menu and follow the directions in this demo.
Step 6:
Send a secure message to finalize.
If you’re activating RDC, Positive Pay, Lockbox, or Account Reconciliation Reporting, you must finalize the user update by sending a Secure Message.
Navigate to ‘Messages’ and click the pencil icon to open a new Secure Message.
Under Message recipient, select ‘RDC, Positive Pay, Lockbox & Reporting User Request’
Important:
- Secure Message must be sent by the Admin User requesting to finalize the rights for newly added user.
-
Must include the user name and login id and specific product that person needs access.
-
Service will be enabled in 1-2 business days upon receipt.

Have questions or unsure where to start?
Contact your Treasury Services rep, or one of our support teams below, for help or to schedule personalized demos.