ACH/Wire Add Recipient Demo
Learn how to add recipients to receive wires from your First Bank account.


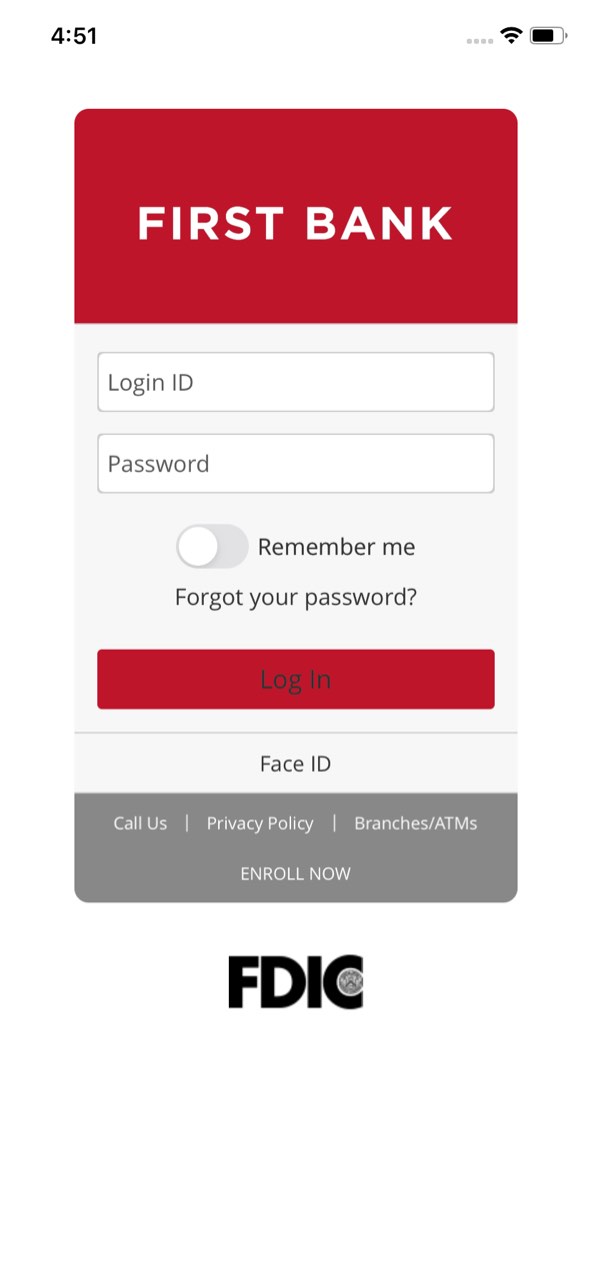
Step 1 Open the mobile app and log in.
When you enrolled in First Bank digital banking, you created a Login ID and Password. Enter that information in the corresponding boxes in the app and then tap the “Log In” button.
Step 2 Navigate to Payment.
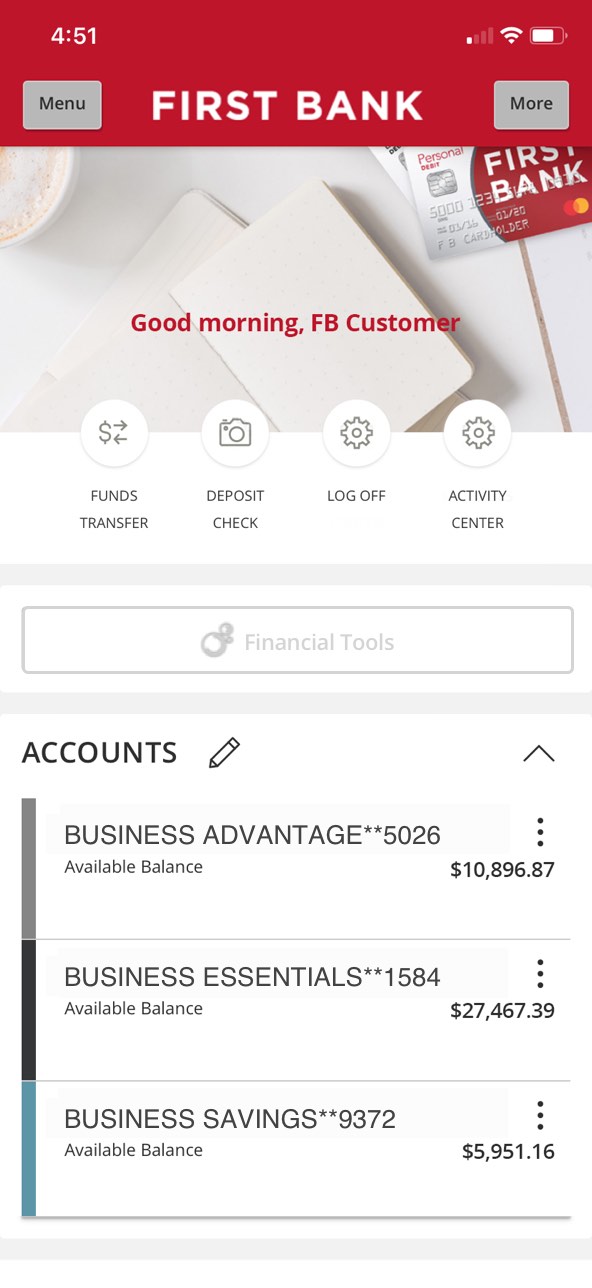
In the top left corner, tap on the “Menu” button, then tap the arrow next to “Commercial” to see the dropdown and choose “Payments.”
Step 3 Choose a payment type.
Scroll down to the bottom of the screen and tap the “New Payment” button. From the pop-up menu, select the type of ACH/Wire payment you want to add and tap on it.
Step 4 Choose account to originate transfer from.
Tap “From Subsidiary” and choose the subsidiary from the dropdown menu. Next, tap in the “Account” box and select the name or account number that you want the wire funds to be drawn from. Next, tap in the “Process Date” box and select the date you want the wire to be sent.
Step 5 Choose to add a new recipient.
Tap on the “Recipient/Account” box to make a dropdown menu appear, then tap on “+ New Recipient” from the top of the list.
Step 6 Enter recipient details.
Tap in the “Display Name” field and enter the name you want to use to reference the recipient you are adding, and you may also include their email address. Enter information in all the required fields about the financial institution who will receive the wire, and tap the checkmark to save it. Next fill in the recipient’s name, address, city, state, and ZIP, and then tap the “Use Without Save” button to proceed.
Step 7 Enter payment details.
Enter the amount of the payment in the “Amount” box, and if you want to include a note, enter it into the “Purpose Of Wire” field.
Step 8 Approve the payment.
Review the information and if it is all correct, tap “Approve.”