Mobile Bill Pay Demo
Pay your bills from anywhere so you’re always on time.


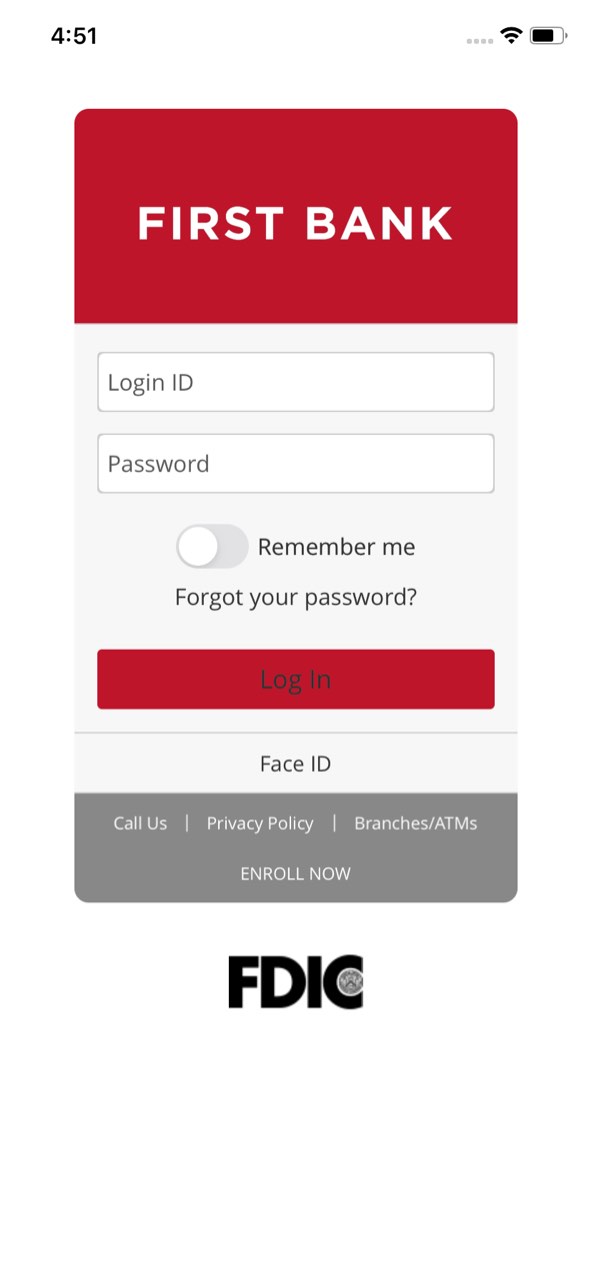
Step 1 Open the mobile app and log in.
When you enrolled in First Bank digital banking, you created a Login ID and Password. Enter that information in the corresponding boxes in the app and then tap the “Log In” button.
Step 2 Navigate to Mobile Bill Pay.
Tap on the “Bill Pay” quick link or tap on the “Menu” button in the upper left corner. From the dropdown menu, select “Payments and Transfers” and then tap “Mobile Bill Pay.”
Step 3 Review and accept the terms.
If this is your first time the Terms and Conditions will pop up. Review the agreement and tap “I Accept.”
Step 4 Add a Payee.
Tap the “Options” button and select “Add payee” from the dropdown.
Step 5 Enter Payee info.
Fill in the Payee’s name, type, billing address, and other accout information. If you would like, you can also enter a nickname for the payee. Tap “Submit.”
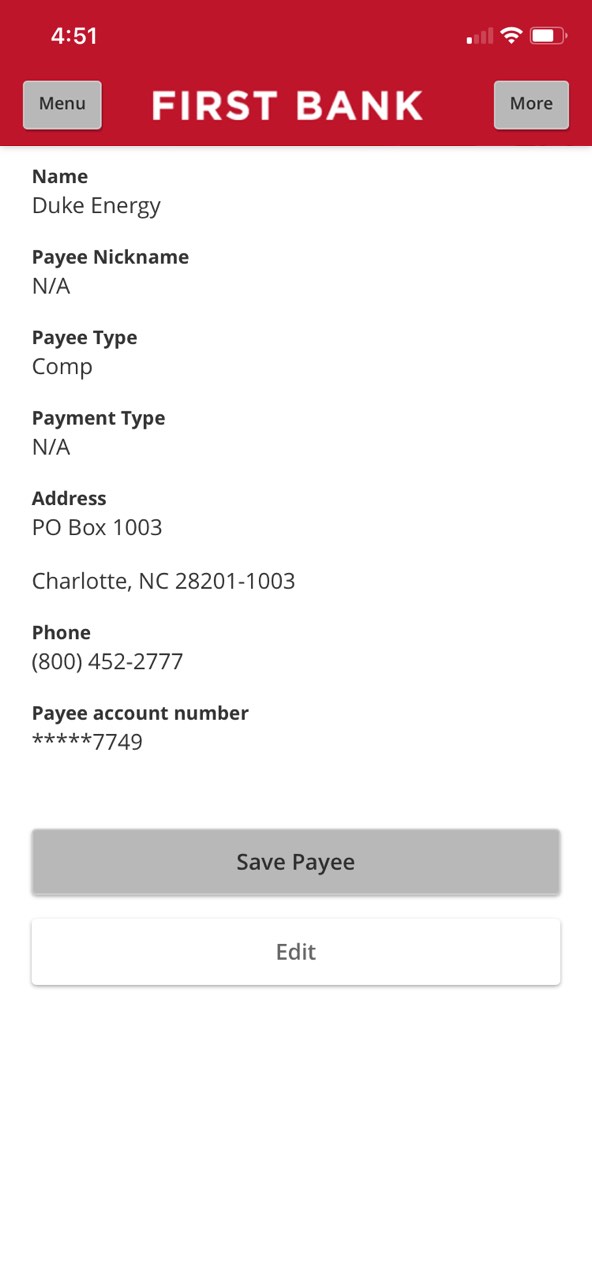
Step 6 Confirm Payee info.
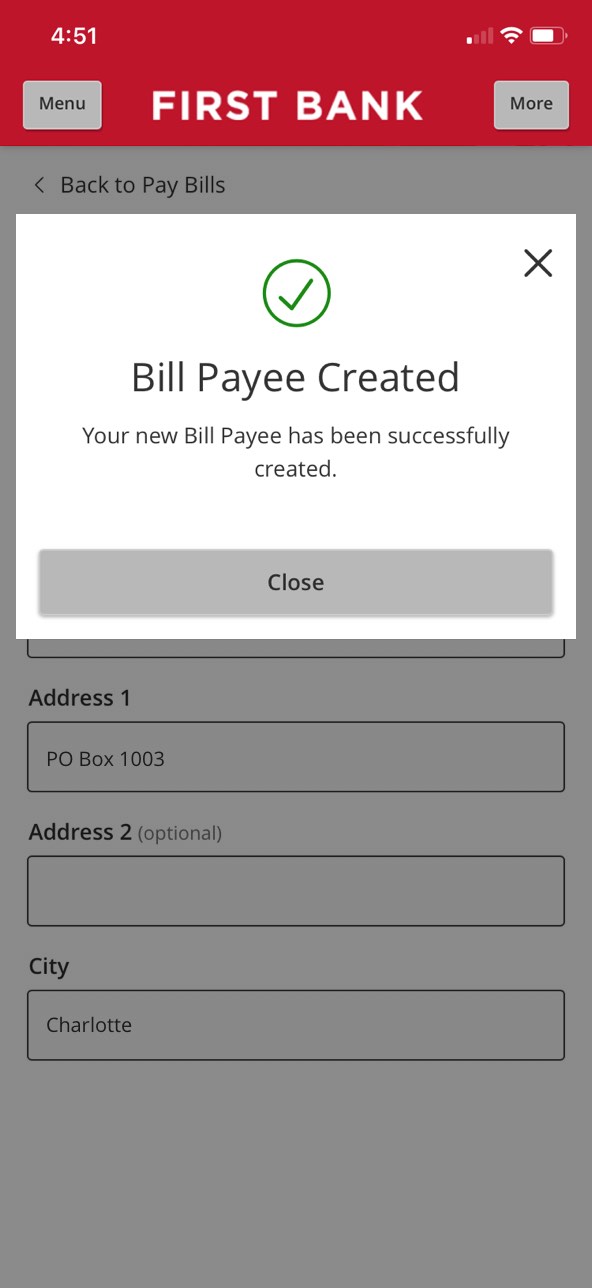
Review all of the payee details, confirm they are correct, and then tap “Save Payee.” Tap “Close” on the final notice popup and you will be taken back to the main Bill Pay screen.
Step 7 Select a Payee.
Tap the name of the payee you want to pay.
Step 8 Enter the payment amount.
Type in the dollar amount to pay. From the “Pay from account” box, tap the dropdown arrow and select the account you want the funds to come from. Next, tap the calendar icon to choose the date you want the payment to be sent. Note that a minimum of one business day is required to deliver funds. To submit the payment, click “Submit Payment.”
Step 9 Review the payment.
A summary of your payment schedule will be provided, including a confirmation number, so you can verify all of the details are correct.
Tap “Go to Bill Payment Activity” to see all scheduled payments.
Step 10 Cancel a Payment.
If you need to cancel a scheduled payment for any reason, tap on the payment in the “Payment Activity” area, then tap the three vertical dots next to the Summary of the payment, and select “Cancel.”
Step 11 Tap Close.
Once your payment cancellation has been saved, tap “Close” and you are finished.