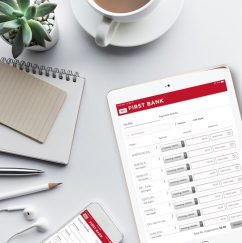
Digital Banking Help Center
You won’t believe how easy banking can be.
Download the mobile app today.
Guided Tutorials
Check out our tutorials to get started with digital banking
Frequently asked questions
Explore our digital tools
 Manage Credit Card
Control your card through First Bank digital banking.
Manage Credit Card
Control your card through First Bank digital banking.
 Zelle®
Send money to friends, family and others you trust.
Zelle®
Send money to friends, family and others you trust.
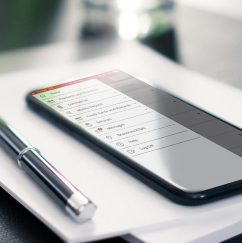 Mobile App
Access your accounts, pay bills and more – all from your phone.
Mobile App
Access your accounts, pay bills and more – all from your phone.
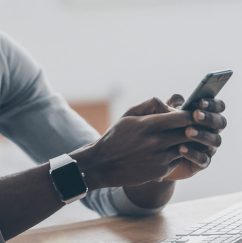
 Mobile Wallet
Take your bank with you.
Mobile Wallet
Take your bank with you.
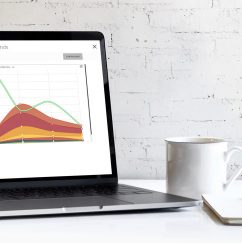 MyMoney
Your personal financial tool for budgeting, saving and more.
MyMoney
Your personal financial tool for budgeting, saving and more.
 Mobile Check Deposit
Snap a picture, deposit a check.
Mobile Check Deposit
Snap a picture, deposit a check.
 Bill Pay
Schedule your payment and we’ll do the rest.
Bill Pay
Schedule your payment and we’ll do the rest.
 Text Banking
Check balances, transfer money and get transaction histories via text.
Text Banking
Check balances, transfer money and get transaction histories via text.
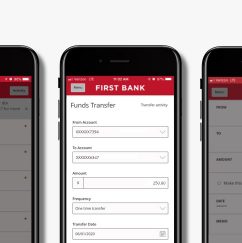 External Transfers
Move money without your checkbook.
External Transfers
Move money without your checkbook.
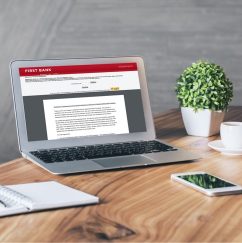 eStatements
Go green and skip the printed statement.
eStatements
Go green and skip the printed statement.
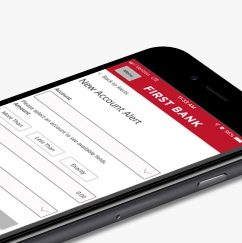 Alerts
Personalize your alerts and get them on your phone
Alerts
Personalize your alerts and get them on your phone